
The workspace
Everything on one screen
Media on the left, the picture in the middle, the cut underneath, and the controls on the right. Nothing is hidden three menus deep.
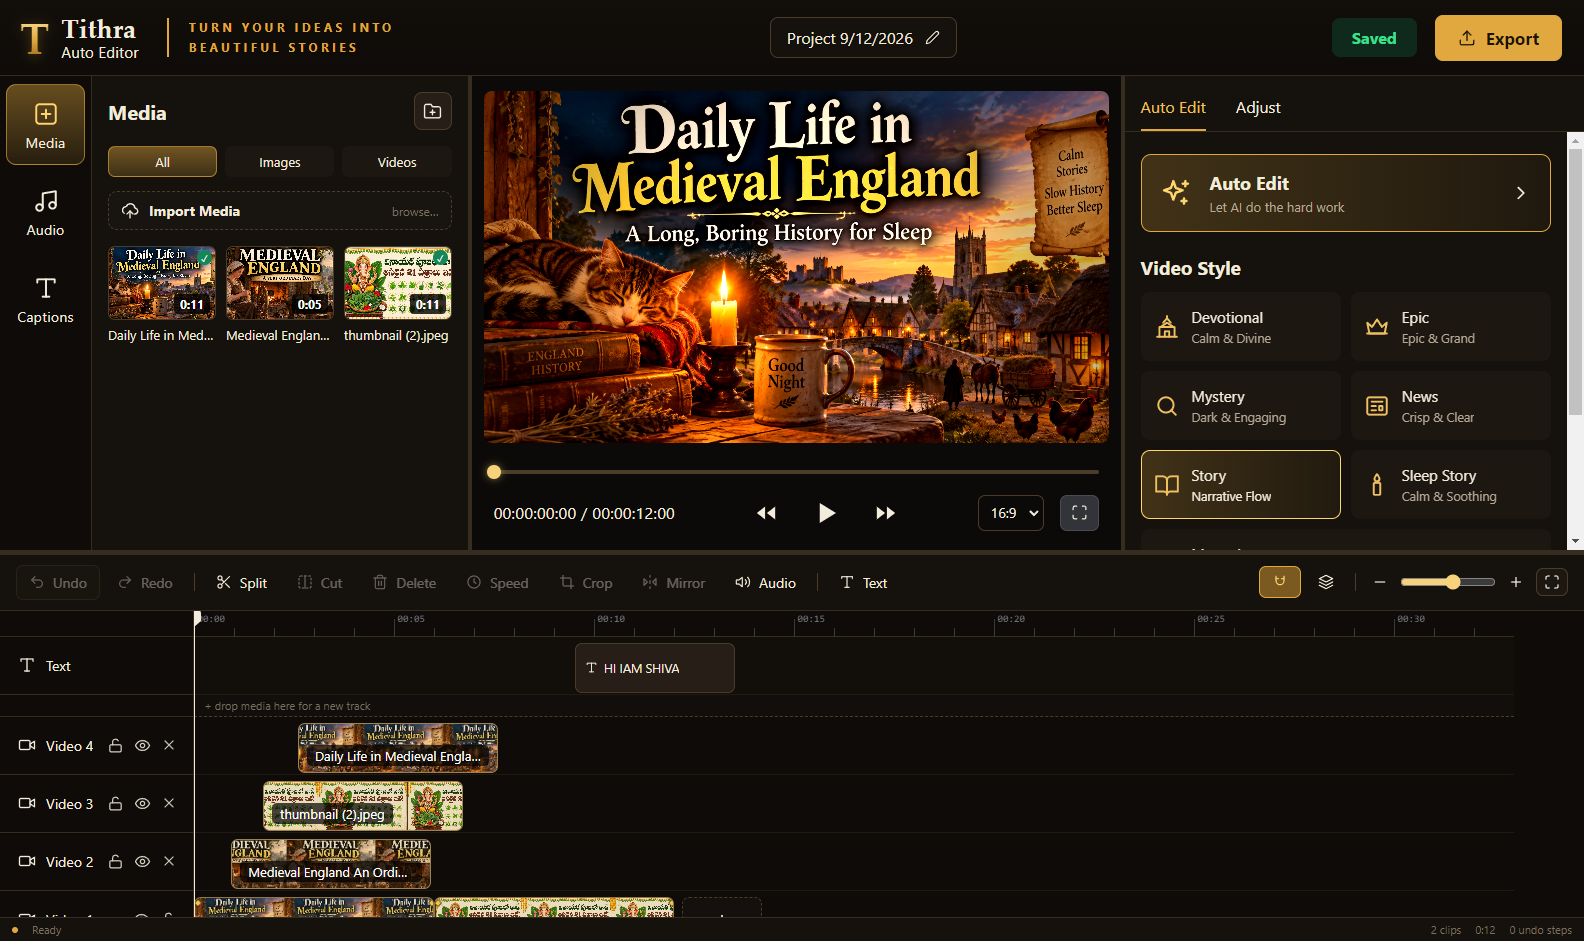
The editor, with a project open
Media bin
Import images and video; filter to All, Images or Videos. Nothing reaches the timeline until you ask — pick what you want and add it, or drag it onto a track. Files you no longer need can be removed from the bin, and anything they were used for goes with them in one undo step.
Preview
A real-time preview of the finished frame — grade, camera move, captions and text included. Scrub the gold bar, step back and forward, go full screen, and switch the frame between 16:9, 9:16 and 1:1.
Timeline
Text on top, then your video tracks, then voice and music. Drag a clip to move it, drag its edge to trim. Drop media above the top track and a new video track is made for you — as many as you need.
Inspector
Two tabs. Auto Edit holds the style grid and the one button that re-cuts everything. Adjust holds the selected clip: transform, filter, speed, animation keyframes — and the text panel when a text item is selected.
The toolbar
The edits you actually make,
one click away
- Undo · Redo — every change is undoable, including Auto Edit itself
- Split — cuts at the playhead (or press S)
- Cut · Delete — with the clips behind closing the gap
- Speed — for video clips
- Crop — re-frame the shot: zoom, pan, keyframes
- Mirror — flip a shot horizontally
- Audio — the clip's own sound, or the voice and music bin
- Text — drops a text item at the playhead, on its own track
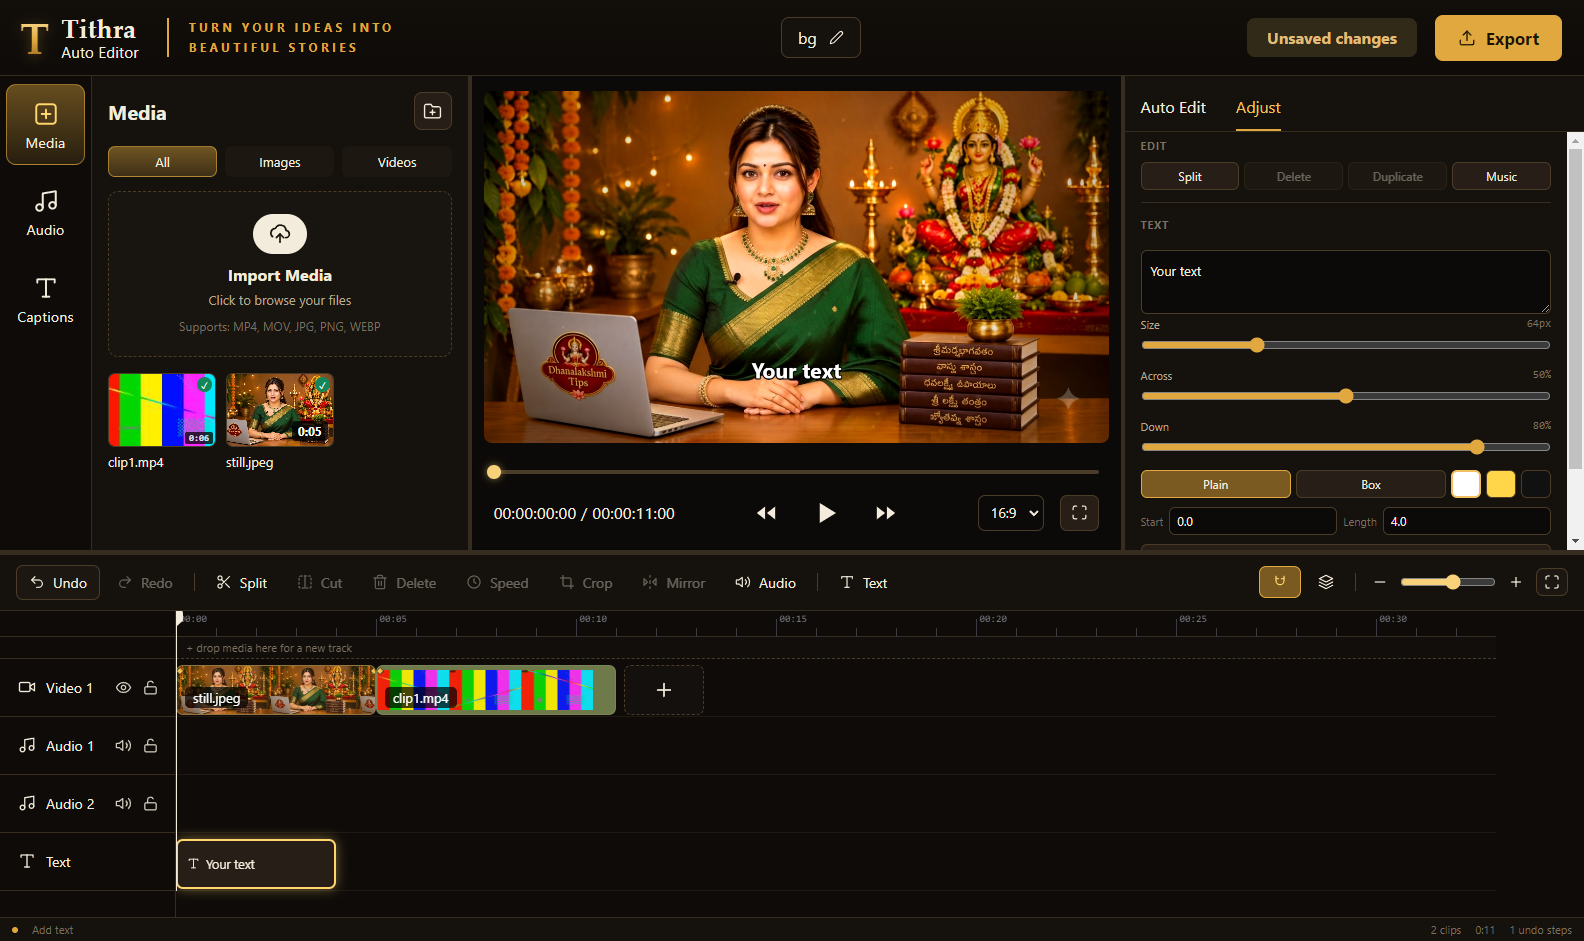
Text on the picture — size, position, plain or boxed
How a video gets made
Four steps
1 · Import
Your voiceover, and your images or clips.
2 · Paste the script
In the Captions tab, so the captions match what was actually recorded.
3 · Pick a style
Auto Edit cuts the whole video to the voice in that style.
4 · Fix and export
Nudge anything you like, then render an MP4.